I began by experimenting with objects I thought would be interesting to capture . I then began to experiment with lighting by discovering what works and what doesn’t so much. I wanted to play around a little with the camera (canon 500D) and lightning together. So I took many shots, adjusting the light each time. After uploading them I began to edit using Raw. I have never used it before so this was a good way to start learning the basics. I played around with the exposure, temperature, contrast, shadows etc to discover what creates a good composition.
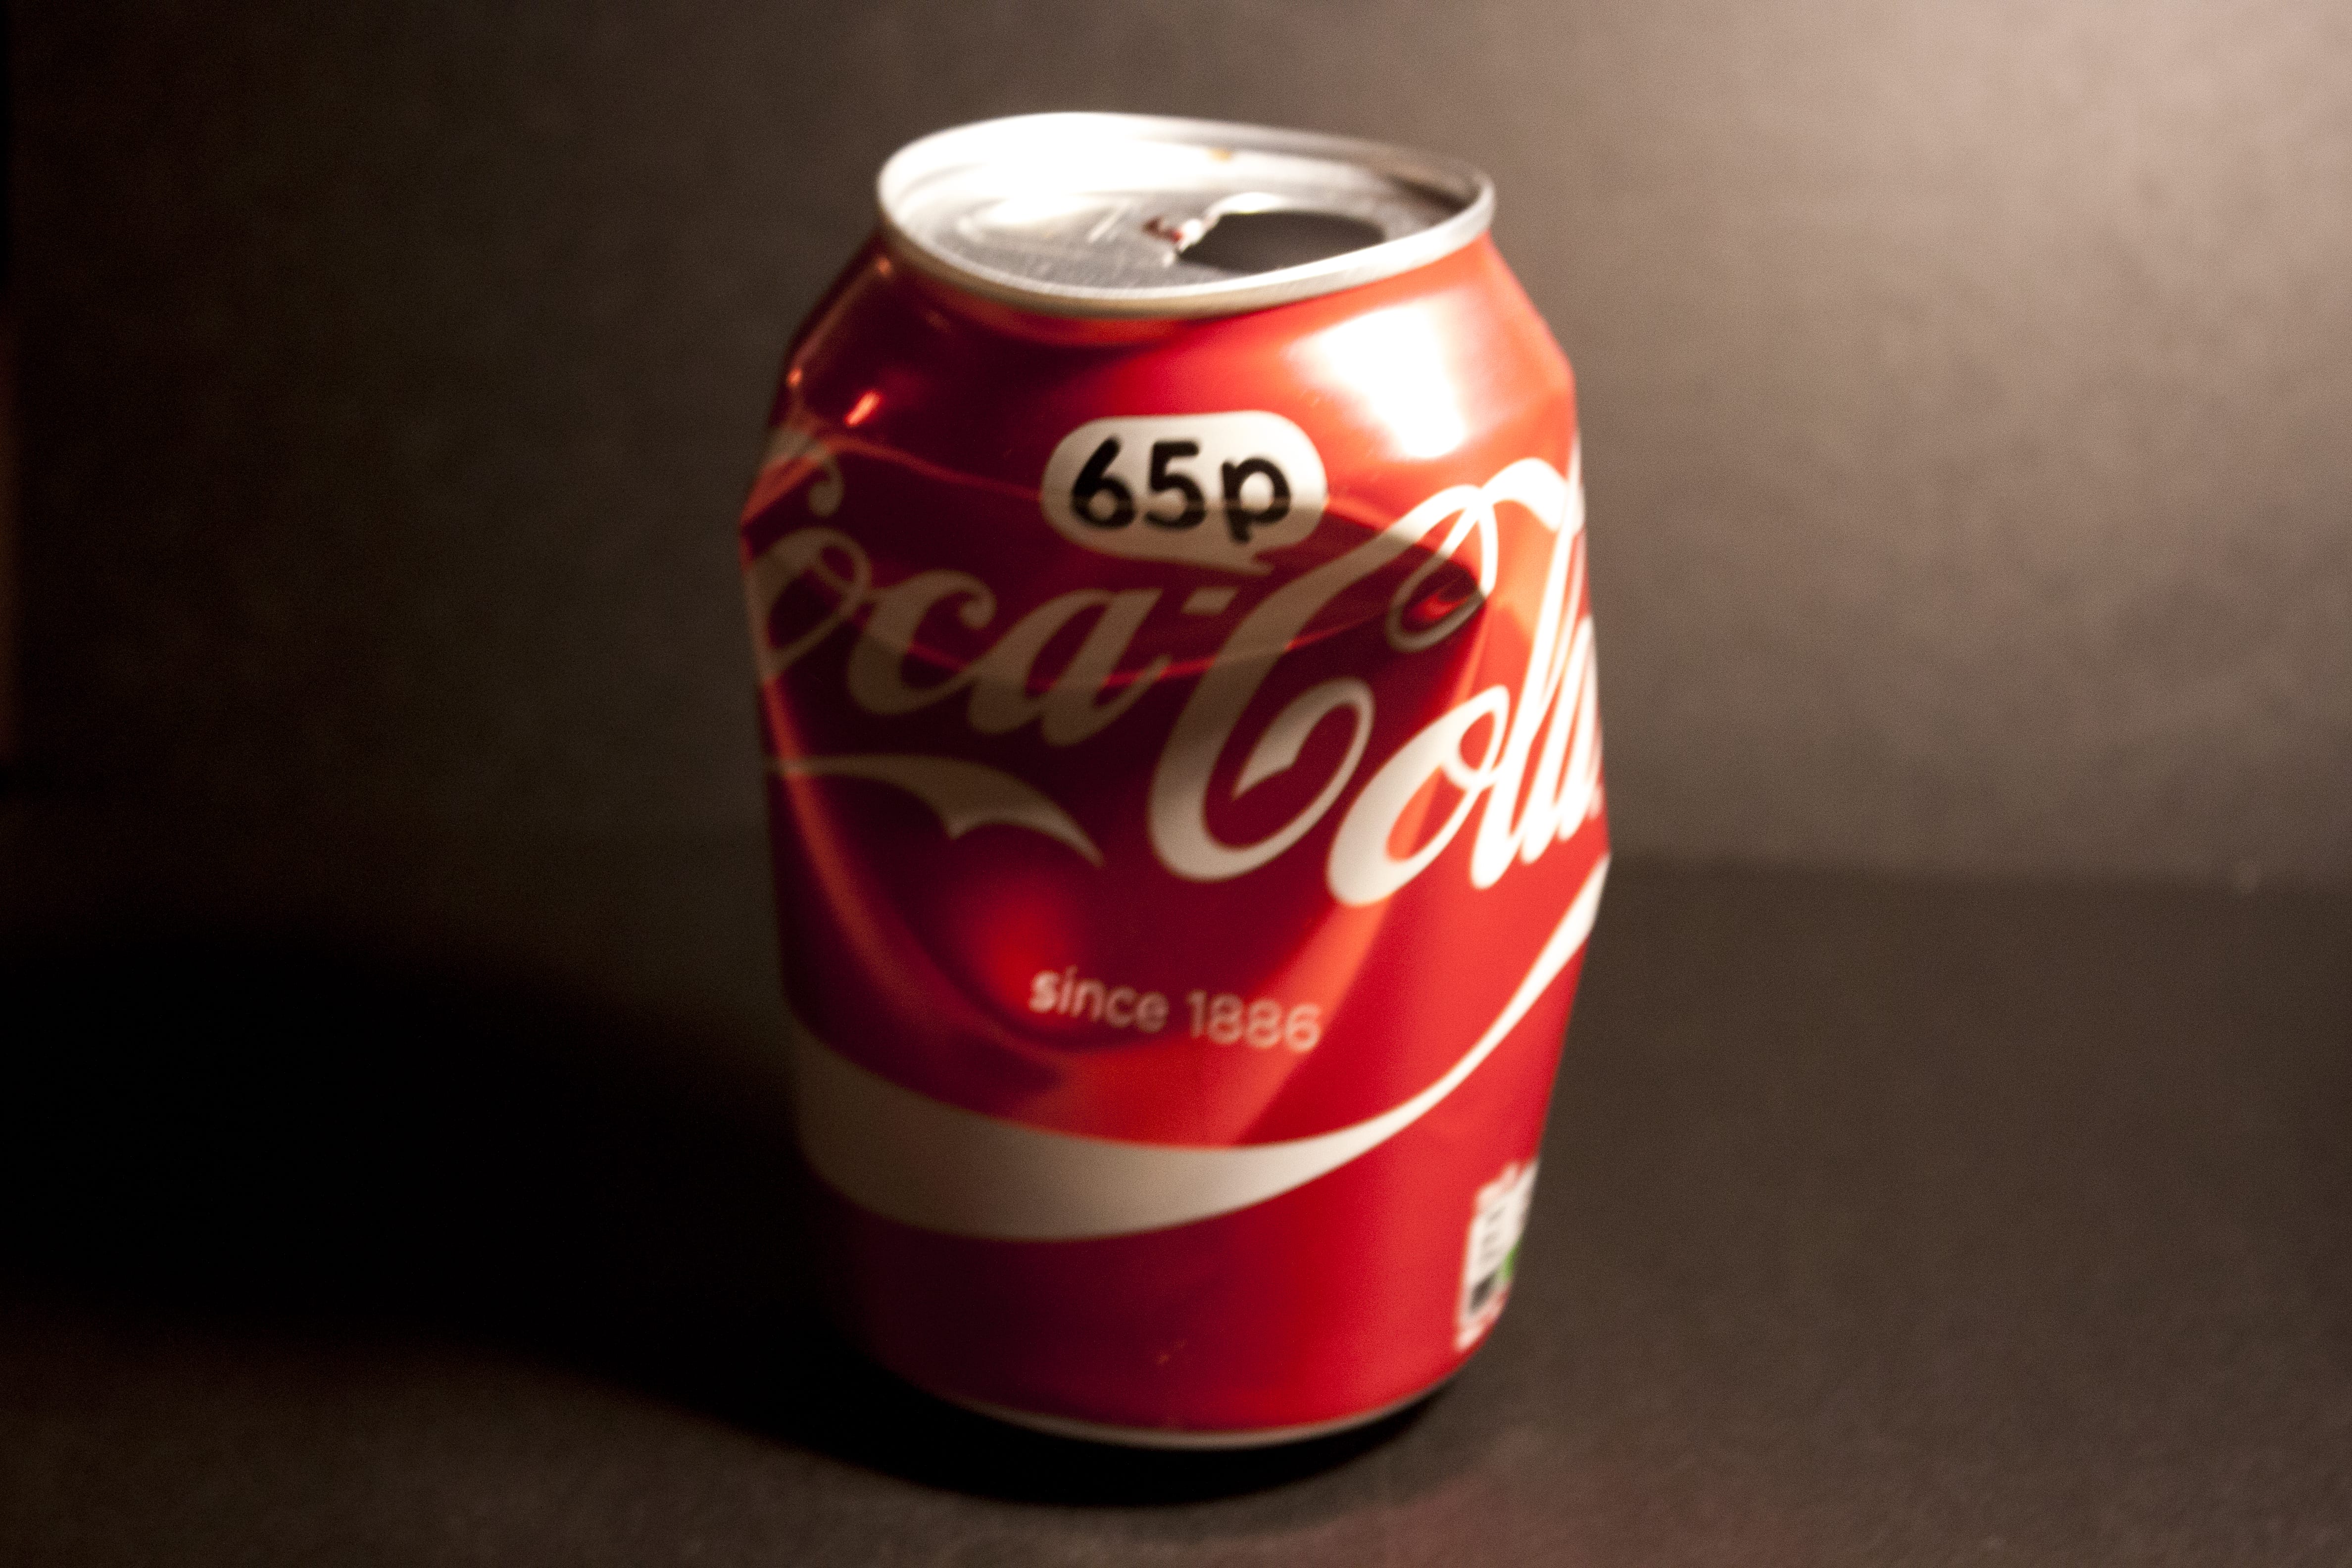
I went for quite a dark image, using black as the backdrop. I find that the image is more in focus and attentive to the eye if it contrast against its background. Furthermore the shadowing elements are very strong, crushing the can created light to hit certain aspects of the can, emphasizing shadowing in certain places, creating texture on the can.
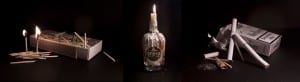
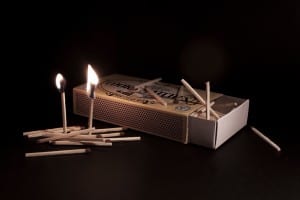
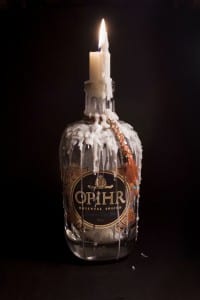
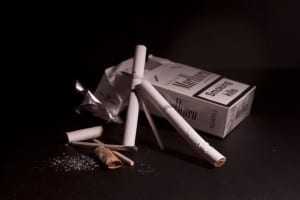
The 3 objects I was given was a pack of matches, a candle and some cigarettes. All these 3 objects are very different although link by the element of fire. I researched into existing still life of each of my objects to give me inspiration and some background knowledge. The following images are what caught my eye the most and I found visually pleasing. Therefore when coming to creating my 3 Still images I can reflect that inspiration through the camera and lighting process.
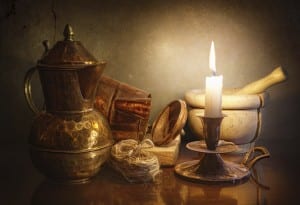
The artist is unknown for the candle photograph so i was unable to look further into their work. Although It did help me as it gave me and idea on how to photograph my candle.
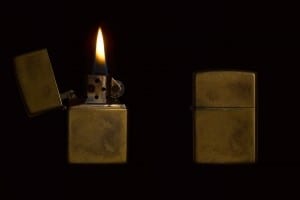
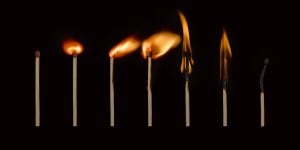
The still image of the matches and the lighter was taken by a English photographer, Benjamin Norton. His work gave me the idea of standing my matches up right and setting them alight. I liked the lighting composition he had infiltrated in his work too, giving me the idea to reflect that in my work. The object and the dark background works very well, especially the flame bursting. The colours of red and orange are enriched, enhancing the heat of the flame. The matches also are in order from being lit to burning out. And this gave me the idea to organise my 3 photographs like this. The match lights the candle, the candle has a flame and the flame then lights the cigarette.
I took many shots, adjusting the light angles seeing which worked best. Then analysing over each one, I narrowed it down to my final 3 and began to edit them in Raw.
From looking at Nortons work I discovered that he makes it clear that the light is evened for the back drop . There is no shadowing in the background. It is pitch black throughout the back space and this is what I applied to my objects when photographing them. Editing through Raw, I adjusted the temperature to take away the yellow glow from the fire. This is a technique that Norton has also done on his photographs (lighter image). Furthermore on each photograph, I edited the white balances to create a more crisp and sharp image. Overall I am happy with my photographs and feel like it was a successful shoot. I had never done still life images before but I am happy with how it went.